Trying my hand at natural dyed Easter eggs for a third year. I love how imperfect they turn out. Don’t get me wrong though, I still like the store bought bright colors and will probably do a batch of those, too. But for now, here are some tips on naturally dying eggs.

Boil Eggs & Get Your Bases
Kick off the process by boiling about a dozen or so eggs. While they are cooling, look for some base colors for the dye. I looked around at what we had. Some left over spinach, red wine, coffee, and tons of loose tea.
In previous years, I’ve used onion skins, red cabbage, blueberries, turmeric, and other spices. You can use a a bunch of different items you’d find in your kitchen, or make a quick trip to the grocery store. The pigments might behave differently than you’d expect, but that’s all part of the fun!
Mixing Colors
Most of the solids have to be boiled for a bit first (onion skins, blueberries, etc.). I mixed about a cup of whatever ingredient I was using with a cup and a half of water. Brought it all to a boil and then let simmer for 15-20 minutes. As it cooled, I added a tablespoon of vinegar.
For the liquids (coffee, red wine, etc.), I used them as they were, with a tablespoon of vinegar. Teas- I let the loose tea steep for a while in hot water and cool off. Added some vinegar, and voilà.


Patience!
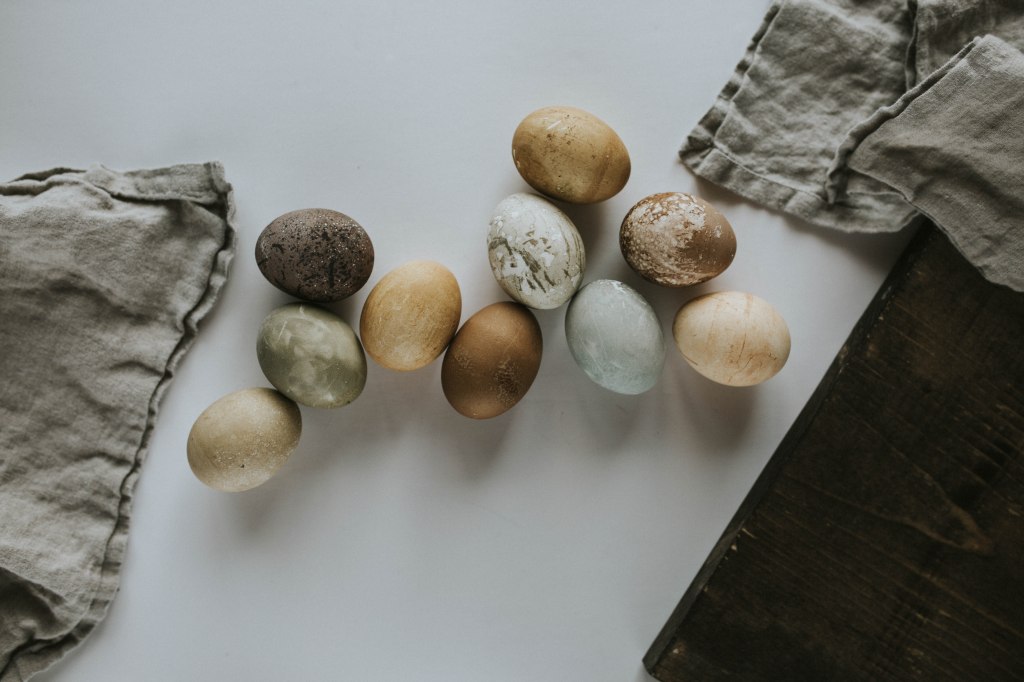
Place the cooled dyes into whatever vessels you’d like to use. Add the eggs, and then wait. This is always hardest for me (curse you, instant gratification). But I put all my mason jars and mugs on the counter and tried to forget about it. The longer you leave the eggs in, the more saturated the colors will be. This process is a major test of your patience! But oh so worth it. I left mine overnight and loved how they turned out.


If you end up trying natural dyed eggs, let me know! Would love to see how others turn out. How ever you color your eggs or celebrate the holiday, I wish you a happy and blessed Easter.
Kelly


Leave a comment